1. Sign in to the AWS Management Console.
2. Navigate to IAM dashboard at https://console.aws.amazon.com/iam/.
3. In the left navigation panel, select Users.
4. Click on the IAM user name that you want to update.
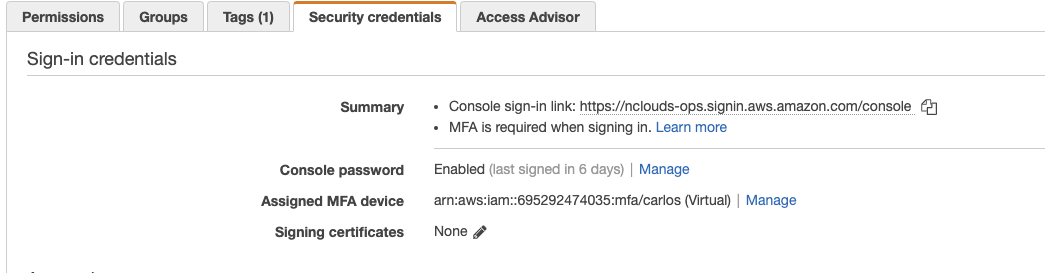
5. On the IAM user configuration page, select Security Credentials tab.
6. Inside the Sign-In Credentials section, click the Manage MFA Device button next to Multi-Factor Authentication Device to initiate the MFA device setup process.
7. In the Manage MFA Device dialog box, select A virtual MFA device and click Next Step.
8. Now install the AWS MFA-compatible application. The MFA application used in this example is Google Authenticator. This guide assumes that you have already the application installed on your smartphone at this point, otherwise just follow these simple steps: https://support.google.com/accounts/answer/1066447?hl=en. Once the application is installed, click Next.
9. Scan the QR code using the Google Authenticator application and enter two consecutive authentication codes in the Authentication Code 1 and Authentication Code 2 text boxes, then click Activate Virtual MFA to complete the setup process. If successful, the following message will be displayed:
“The MFA device was successfully associated.”.
Click Finish to exit the setup wizard. The new MFA virtual device ARN should be listed inside the Multi-Factor Authentication Device section:
10. Repeat steps no. 4 – 9 for all AWS IAM users available in your AWS account.
 Skip to content