Skip to content

Kubernetes has now become the standard for modern cloud infrastructure due to its high availability, scalability, stability, and open-source nature. But even though the benefits of Kubernetes are as clear as day, there is no denying that Kubernetes can be a complex system to maintain if you haven’t set up the right policies and guidelines in place.
In this article, we take a look at the top Kubernetes best practices to follow for optimizing your Kubernetes clusters and getting the most out of them:
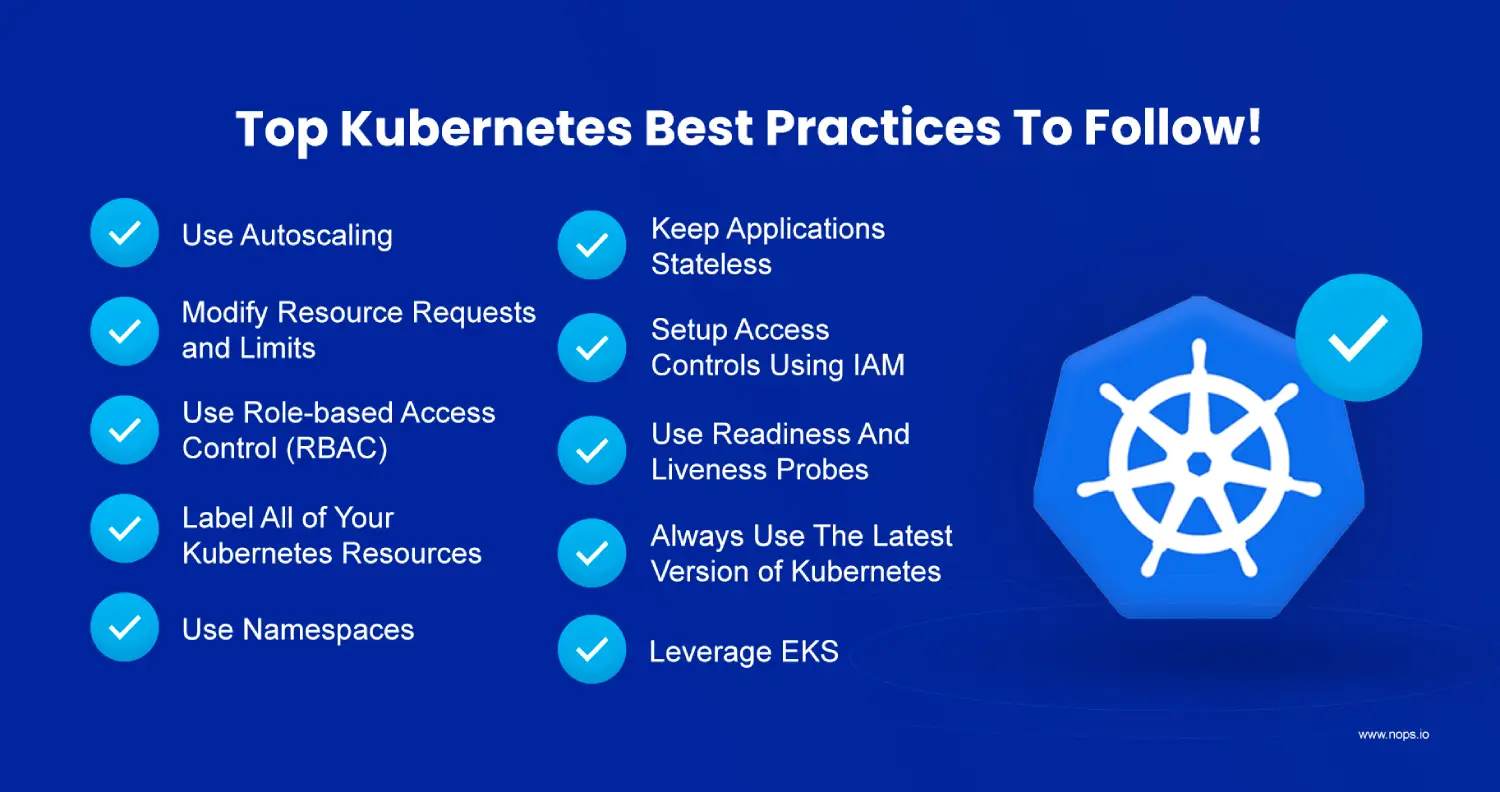
1. Use Autoscaling
Autoscaling makes it possible to optimize resource usage and cloud spending by automatically scaling clusters based on changing demands. So if you are using a service that has increased load during some specific times of the day, autoscaling in Kubernetes can manage the fluctuating change in demand by increasing or decreasing the numbers of cluster nodes and deployed nodes.
Adopting autoscaling can prevent capacity-related failure and prevent users from paying for any extra resources they don’t need 24/7.
2. Set up Resource Requests and Limits
Sometimes, deploying applications to a production cluster can end up failing because of limited resources. It usually happens when the pods in a cluster utilize more resources than they need.
Now when pods start utilizing more memory or CPU on the node, it can become challenging for the scheduler to place new nodes, which can even lead to the node crashing in some instances.
Setting up resource requests and limits allows users to specify the minimum and maximum amount of resources a container can use simultaneously. Containers in a pod just would not run when the request for resources is higher than the set limit.
3. Use Role-Based Access Control (RBAC)
Kubernetes Role-based Access Control (RBAC) helps secure the system by allowing role-based user and application access. RBAC is a built-in Kubernetes feature that you can use to assign roles to every user and service account interacting with a cluster. This network policy controls pod traffic to limit cluster attacks. The roles in RBAC can be granted according to principle of least privilege, which means only permissions that are required should be granted.
With RBAC, you can also protect your cluster in case credentials are stolen or lost.
4. Label All of Your Kubernetes Resources
There are numerous elements present in a Kubernetes cluster, including pods, containers, services, and networks. It can be incredibly challenging to not only manage all of these elements but also keep track of how they interact with each other.
This is exactly where Kubernetes labels can help. Labels in Kubernetes are key-value pairs which help organize resources in a cluster. For instance, if there are two instances with similar names, labels can help differentiate the two and avoid any confusion.
5. Use Namespaces
Namespaces divide a single cluster into different logical units or virtual subclusters. If you have a cluster that is being used by multiple teams, leveraging namespaces can keep the cluster secure by providing each team with their own separate namespace.
For instance, if the development and production teams are working on the same cluster, you can build separate namespaces or virtual subclusters for them so that each team only has access to their parts of the cluster and they don’t end up accidentally overwriting each other’s work. Developers can only have access to the development namespace, which wouldn’t allow them to make any modifications to the production namespace – and vice versa.
There are three different default namespaces in Kubernetes – default, kube-system, and kube-public.
6. Keep Applications Stateless
Stateless applications are just generally easier to manage in Kubernetes. That is because a stateless backend can help ensure that even the teams that may be new to Kubernetes can have long-running connections, which can end up limiting the scalability of the applications. Moreover, stateless applications are easy to migrate and scale. You can also use spot instances with stateless applications if they are not business-critical.
7. Set up Access Controls Using IAM
Identity and Access Management (IAM) can help define policies to control which cloud resources the Kubernetes workloads can access. IAM significantly reduces complexity by streamlining access controls for all the Kubernetes workloads at once. Moreover, centralizing and defining IAM policies also helps decrease risks associated with access control oversight, leading to security problems.
8. Use Readiness And Liveness Probes
Readiness and liveness probes are like health checks for your Kubernetes cluster, which is why it is a good practice to use them.
Readiness probes help ensure that any requests made to a pod only get directed to it when the pod is ready to take on requests. In case the pod is not ready, the requests can then be redirected somewhere else. Since there are no default values set for it, you will have to set a readiness probe for every container in Kubernetes.
Liveness probe helps analyze if an application is running or not. It pings the pod to get a response in order to check the health of the application. In case the check ends up failing, the probe will launch a new pod and then start the application.
9. Always Use The Latest Version of Kubernetes
New versions of Kubernetes address the security and vulnerability issues from the earlier versions and also introduce new features. Moreover, support for older versions of Kubernetes may not be as good or prompt as the newest version. This is exactly why its a best to use the latest and up-to-date version of Kubernetes for your clusters.
Although it’s important to note that migration to a new version of Kubernetes can limit some old features as new ones get added, you should always plan the migration in advance and back up all your data. At the same time, you should check the compatibility of your applications with the newer version before going forward with the upgrade.

10. Leveraging EKS
AWS Elastic Kubernetes Service (EKS) can simplify AWS Kubernetes cluster control, deployment, and scaling. It manages and streamlines all aspects of Kubernetes, including updates, patches, and control plane management, so you can focus on managing and launching your applications. There are also self-managed Kubernetes clusters that give you more control.
How Can nOps Help You With Kubernetes Optimization?
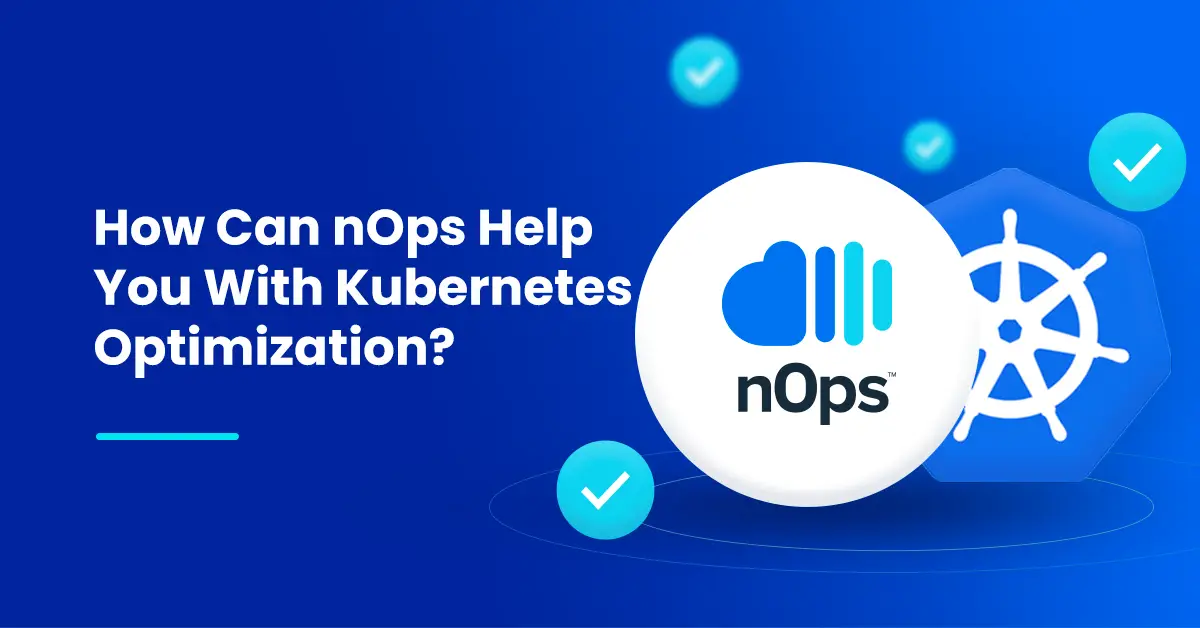
nOps Karpenter Solution (nKS) leverages the power of Amazon EKS and open-source Karpenter to supercharge your Kubernetes clusters through autoscaling. It can effectively reduce costs for EKS infrastructure by over 50%.
Here are some of the many features of nKS:
- 60-minute advance spot prediction to handle spot termination interruptions before they happen
- Automatically schedule EKS resources according to the available RIs, spot instances, and Saving Plans
- Monitor prices in real-time to maximize savings
- Leverage AWS’s open-sourced platform, Karpenter, to help autoscale
- Constantly rebalance cluster nodes based on the changes in the workload
- User-friendly interface for easy configuration and management
Explore more about nOps Karpenter Solution (nKS) here!