The Essential Guide to Cluster Autoscaler Cost Optimization
Many organizations running in the cloud are shifting to EKS for greater elasticity, scalability, and resource optimization. As EKS becomes one of the biggest items on your AWS bill, prioritizing its cost-optimization is imperative.
Cluster Autoscaler, the most widely-used solution for EKS, directly impacts costs through scaling decisions. At nOps, we oversee over a billion dollars in AWS spend and have gained some valuable insights into the technology.
That’s why we wrote this guide to using Cluster Autoscaler efficiently — including practical how-to information, screenshots, and best practices to reduce costs.
How Cluster Autoscaler Works
Cluster Autoscaler automatically scales your Kubernetes clusters based on the metrics you define. It monitors the resource utilization of nodes in your EKS/Kubernetes Cluster, and adjusts the number of nodes in a node group to accommodate changes in resource requirements.
When a scaling decision is made, Cluster Autoscaler communicates with the associated Auto Scaling Group (ASG) to adjust the DesiredCapacity, prompting the ASG to scale the cluster nodes automatically.
In the context of Cluster Autoscaler and EKS, cost is determined by the decision to scale out or scale in the number of nodes. Inefficient resource allocation occurs when an existing node is not fully utilized or when a new node is added with excess capacity for incoming pods — causing waste and unnecessary expense.
Cluster Autoscaler can help with cloud cost management by automatically scaling clusters up or down based on demand, optimizing your resource usage. Let’s discuss some ways to do this effectively.
Related Content
The Ultimate Guide to Karpenter
Maximizing efficiency, stability, and cost savings in Kubernetes clusters
Download Now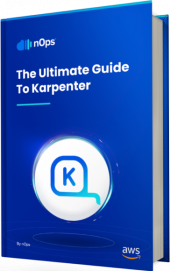
Consolidate Node Groups
It is often more cost-efficient to consolidate resources into larger NodeGroups. This generally reduces overall infrastructure costs and management overhead compared to managing a larger number of smaller Node Groups.
With more nodes available in a single group, the risk of underutilized nodes is minimized, ensuring the cluster operates closer to its capacity. The risk of encountering situations where one node group requires more computational power while others remain idle is significantly reduced.
The optimization technique for efficiently allocating containers or workloads onto nodes within a cluster is known as bin packing. The term “bin packing” is borrowed from the classic optimization problem where items of different sizes are placed into bins to minimize wasted space.
Kubernetes uses a scheduler that makes decisions about where to place pods based on various factors like resource requests and limits, node affinity, and anti-affinity rules. Here are some key concepts and settings you might consider for influencing scheduling decisions:
1. Resource Requests and Limits: In your pod definition (YAML file), you can specify the resource requirements and limits. The scheduler considers these values when placing pods onto nodes.
resources: requests: memory:"64Mi" cpu:"250m" limits: memory:"128Mi" cpu:"500m"2. Node Affinity and Anti-affinity: You can use node affinity and anti-affinity rules to influence pod placement based on node characteristics. For example, you might prefer nodes with specific labels or avoid nodes with certain labels.
affinity: nodeAffinity:requiredDuringSchedulingIgnoredDuringExecution: nodeSelectorTerms: -matchExpressions: -key:example.com/zone operator:In values: -us-west1-a3. Taints and Tolerations: Taints on nodes and tolerations on pods allow you to repel or attract pods based on certain conditions. Read further in the documentation.
tolerations: -key:"example.com/special" operator:"Equal" value:"true" effect:"NoSchedule"4. Scheduler configuration: You can update the scheduler configuration to specify a bin packing strategy such as MostAllocated or RequestedToCapacityRatio. Here is an example of a scheduler configuration that uses the MostAllocated strategy:
apiVersion:kubescheduler.config.k8s.io/v1 kind:KubeSchedulerConfiguration profiles: -pluginConfig: -args: scoringStrategy: resources: -name:cpu weight:1 -name:memory weight:1 -name:intel.com/foo weight:3 -name:intel.com/bar weight:3 type:MostAllocated name:NodeResourcesFitFor more information about scheduling concepts, please refer to the Kubernetes documentation.
The Role of Horizontal Pod Autoscalers
The Horizontal Pod Autoscaler (HPA) plays a crucial role in ensuring that the application itself scales effectively by dynamically adjusting the number of running pods based on defined metrics. To achieve effective autoscaling, it’s common to use both Cluster Autoscaler and Horizontal Pod Autoscaler (HPA) together to ensure (1) there is enough infrastructure capacity (nodes) to support the application, and (2) that the application scales horizontally by managing the number of pod replicas.
If only a Cluster Autoscaler is used, the cluster size might scale up or down to handle resource demands, but it doesn’t directly influence the application’s scalability. For the application to dynamically adjust its capacity, the HPA must be configured appropriately.
Below are additional details on the role each play in effective autoscaling:
- Cluster Autoscaler: Monitors the overall resource utilization of the nodes in the cluster and adjusts the number of nodes (scaling the cluster) based on the observed metrics. This ensures that there are enough resources available in the cluster to handle the workload.
- Horizontal Pod Autoscaler (HPA): Monitors the resource utilization of individual pods and adjusts the number of pod replicas based on specified metrics (e.g., CPU utilization, custom metrics). It ensures that the application scales horizontally by adding or removing pods to meet the desired performance or resource utilization levels.
Setting Scaling Policies With Custom Metrics
While Kubernetes provides built-in metrics like CPU and memory usage for scaling decisions, there are cases where custom metrics become necessary for a more tailored and application-specific scaling approach.
Let’s take a practical example to illustrate this concept. Imagine you have a custom metric called “queue_length,” representing the number of messages awaiting processing in a queue. When this metric surpasses a defined threshold, you want to dynamically scale your application by adding more pods to efficiently handle the incoming workload. Kubernetes is not aware of your queue length without a custom metric.
For more information on how to configure an HPA and custom metrics, please refer to the Kubernetes documentation.
Use Spot in your EKS Cluster
Optimizing your ASGs only goes so far — for the biggest discounts, moving your usage onto discounted Spot instances can help you save significantly. AWS Spot instances can save you up to 90% in costs compared to On-Demand instances. And contrary to common belief, it is possible to use Spot instances reliably in workloads beyond stateless workloads.
However, there are challenges involved in using Spot, such as handling interruptions, knowing how much to use with your existing Reserved Instance and Savings Plan commitments, and more. Let’s discuss how you can handle some of these challenges effectively while using Cluster Autoscaler.
1. Leverage Managed Node Groups to reduce operational overhead: We recommend using Managed Node Groups (rather than Unmanaged Node Groups) to manage worker nodes in the cluster. Managed Node Groups automate the provisioning and lifecycle management of nodes, allowing you to (1) update, create, or terminate nodes with a single operation, and (2) automatically drain nodes and try to ensure graceful node termination.Using Managed Node Groups is generally better when leveraging Spot instances in an EKS cluster because they provide built-in support for diversifying Spot instance types within the same node group. By spreading the workload across different instance types, you can reduce the impact of Spot instance interruptions on your application for better reliability.To create a Managed Node Group you can use the eksctl CLI and define the necessary parameters like instance type, minimum and maximum nodes, etc., in a YAML configuration file. Here’s an example for reference:
apiVersion:eksctl.io/v1alpha5kind:ClusterConfigmetadata:name:your-eks-clusterregion:your-regionmanagedNodeGroups:-name:managed-ngminSize:2maxSize:5instanceTypes:- t3.small- t3.mediumTo apply the configuration and create the Managed Node Group, you can run the following eksctl command:
eksctlcreatenodegroup-fyour-config.yamlWhen you create a Managed Node Group using the eksctl CLI, an Auto Scaling Group (ASG) is created automatically as part of the Managed Node Group configuration. The ASG is responsible for managing the underlying EC2 instances that constitute the nodes in the managed node group. Cluster Autoscaler communicates with the ASG to adjust the DesiredCapacity and perform scaling operations.
2. Create node groups specifically for Spot Instances: One way you can leverage Spot Instances in your EKS cluster is by creating node groups that only use Spot Instances. This is a good option when the workloads that will run in the node group do not require an On-Demand base capacity. Here’s an example of how to accomplish this via a config file:
apiVersion:eksctl.io/v1alpha5kind:ClusterConfigmetadata:
name: your-eks-cluster
region: your-region
managedNodeGroups:
– name: managed-spot-ng
instanceTypes: [“c3.large”,”c4.large”,”c5.large”,”c5d.large”]
spot: true
In this file, we just set the Spot option to true for the node group in which you want to use Spot Instances. You can tweak other settings like desiredCapacity and instanceType based on your specific needs.
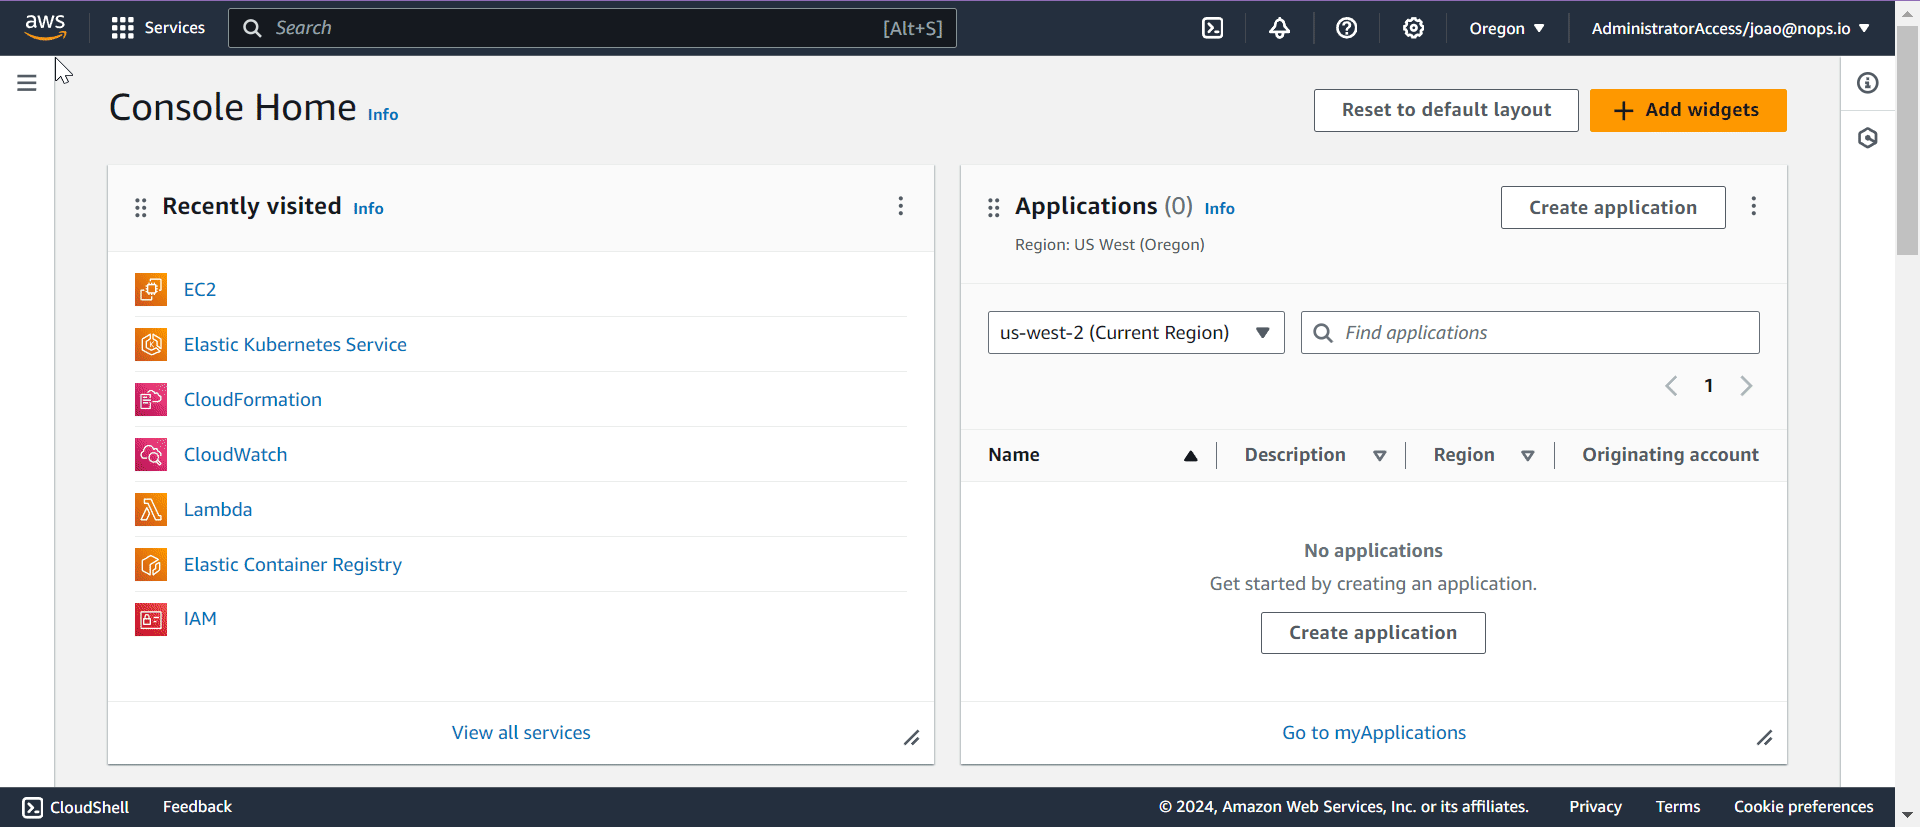
3. Use a Mixed Instance Policy: Mixed instance policies enable you to deploy a combination of On-Demand and Spot instances within the same node group. This is a good option for when you want to specify an On-Demand base capacity for your node group.To accomplish this, you’ll need to update the Auto Scaling Group associated with your node group. In the AWS Console, navigate to EC2 Auto Scaling Groups, and specify the percentage of Spot and On-demand Instances in the Instance Purchase Options section.
When implementing the MixedInstancePolicy, ensure the selection of a diverse range of instance types that demonstrate uniformity in terms of CPU, memory, and GPU configurations.
When scaling the ASG, instances are added or removed based on demand. It can be problematic when instances have different capacities — leading to uneven distribution on workloads and overloading or underutilizing specific instances. This can impact the overall performance and responsiveness of the applications running on the EKS cluster, as well as lead to wasteful spending when the cluster could be using cheaper instances instead.
While uniformity in terms of CPU, memory, and GPU configurations is essential, embracing a diverse range of instance types is also crucial for cost savings, especially when incorporating Spot instances into the cluster. Selecting only one instance type, or a small number of instance types, might mean that you don’t have adequate options available in the Spot market to leverage for reliable cost savings.
4. Configure Pod Disruption Budgets: A Pod Disruption Budget allows you to limit the number of concurrent disruptions a group of pods can experience. When it comes time for Cluster Autoscaler to scale down the cluster, PDBs ensure that node removals doesn’t disrupt too many pods simultaneously and degrade service.In sum, you can combine Cluster Autoscaler and Pod Disruption Budgets to balance efficient resource utilization and high availability. The Autoscaler ensures that your cluster has the right amount of resources, and PDBs ensure that the removal of nodes doesn’t impact the availability of your applications.A Pod Disruption Budget is especially beneficial when running workloads on Spot, because it can minimize the impact of Spot instance interruptions for the same reasons detailed above.To configure a Pod Disruption Budget, you can use a YAML file to define the desired specifications. Below is an example YAML snippet illustrating a basic Pod Disruption Budget configuration:
apiVersion:policy/v1beta1kind:PodDisruptionBudgetmetadata:name:example-pdbspec:minAvailable:2selector:matchLabels:app:your-app-labelBasic Pod Disruption Budget Configuration
In this example, the minAvailable field sets the minimum number of pods that must remain available during disruptions. The selector field specifies the labels used to select the pods affected by the disruption budget. Replace “your-app-label” with the appropriate label for your pods. This YAML snippet provides a foundation for configuring a PDB tailored to your specific deployment needs. Other important configurations that you might need to use are:
1. maxDisruptions:
Limits the total number of disruptions that can occur simultaneously. This parameter helps prevent excessive simultaneous pod terminations.
spec:maxDisruptions:12. disruptionsAllowed:
If set to 0, this effectively prevents any voluntary disruptions. This can be useful in scenarios where you want to temporarily freeze any planned disruptions.
spec:disruptionsAllowed:0The challenges of using Spot to cost-optimize EKS clusters
Implementing efficient and cost-effective EKS clusters using Cluster Autoscaler involves navigating many complexities. For the biggest discounts, moving your usage onto cheaper Spot instances can help you save significantly. However, there are challenges involved in this approach:
- Spot is unstable. AWS gives you a discount on the instance, but not a guarantee that you’ll be able to use it to the end of your compute need. Unexpected interruptions can cause workloads to fail, potentially posing a major problem for production or mission-critical applications.
- The Spot market frequently shifts. Even if you find a suitable Spot option for a particular instance type, market pricing and availability might change the next day — meaning frequent interruptions and the constant work of finding new suitable Spot options for your workload.
- Savings Plans and Reserved Instances go underutilized. Unless you constantly track and balance the amount of Spot you use with your existing AWS commitments, you may inadvertently use too much Spot and waste the SP and RIs that you’ve already paid for. Managing resources in a dynamic environment where workloads fluctuate and infrastructure demands change rapidly while still saving money with Spot Instances can be challenging and time-consuming.
That’s why nOps created Compute Copilot — simply integrate it with your Cluster Autoscaler and let nOps handle the rest.
Compute Copilot for Cluster Autoscaler
Leveraging historical and current Spot data based on the $1 billion+ in cloud spend we manage, our solution employs a comprehensive scoring system for each instance. This scoring considers factors such as Spot lifetime in the region, Availability Zone, price, capacity, and more. In real-time, scores are assigned to every Spot market instance based on these factors.
Copilot’s AI uses this scoring to manage instances for the best price in real time. It continually analyzes market pricing and your existing commitments to ensure you are always on the best blend of Spot, Reserved, and On-Demand.
Here are the key benefits of delegating the hassle of cost optimization to nOps.
- Hands free cost savings. Copilot automatically selects the optimal instance types for your EKS workloads, freeing up your time and attention to focus on building and innovating.
- Enterprise-grade SLAs for the highest standards of reliability. Run production and mission-critical workloads on Spot with complete confidence.
- Effortless onboarding. Just plug in your Cluster Autoscaler to start saving effortlessly.
- No upfront cost. You pay only a percentage of your realized savings, making adoption risk-free.
nOps was recently ranked #1 in G2’s cloud cost management category. Join our customers using nOps to slash your cloud costs by booking a demo today!
More on how it works:
- Scaling Operation: Cluster Autoscaler triggers a scaling operation by adjusting the DesiredCapacity of the ASG.
- Compute Copilot Lambda Activation: Whenever the ASG launches a new on-demand instance (e.g., in response to a desired capacity change), the Compute Copilot Lambda is activated.
- Spot Instance Launch: The Compute Copilot Lambda responds by automatically launching a Spot instance configured to mirror the settings of the on-demand instance.
- Attachment to ASG: The Spot instance is seamlessly attached to the Cluster, confirming its serviceability.
- On-Demand Instance Removal: Simultaneously, the Compute Copilot Lambda terminates the corresponding on-demand instance, completing the migration process.
Moreover, when Compute Copilot Lambda needs to replace an On-Demand instance associated with an EKS Cluster, it communicates with the Compute Copilot Agent running in the cluster. This ensures a graceful removal of pods from the node before termination, preserving the integrity of your EKS environment. To achieve this, the process involves ‘cordon’ and ‘drain’ operations, where ‘cordon’ prevents new pods from being scheduled to the node, and ‘drain’ ensures the existing pods are gracefully evicted from the node prior to its termination.
For more information on optimizing your EKS costs with Copilot, please consult the documentation.