While AWS EKS provides a powerful and convenient way to manage containerized applications, it can be costly. A budgets are squeezed, EKS is often one of the top line items on your AWS bill.

We’ll walk you through a comparison of the most important EKS autoscaling solutions on the market — Cluster Autoscaler vs Karpenter. We’ll dig in to the differences between the traditional option and Amazon’s latest EKS node management solution, with step-by-step technical instructions and best practices for migrating to Karpenter.  

Cluster Autoscaler vs Karpenter: What Are The Differences?

Cluster Autoscaler utilizes Amazon EC2 Auto Scaling Groups to manage node groups. A controller takes charge of managing the node group ASGs, increasing the desired size based on the pending workloads in the cluster.  It scales up nodes within ASGs when pending pods are unschedulable due to resource constraints, and scales down when nodes are underutilized.

AWS Karpenter brings significant advancements in node management to the Kubernetes community. Karpenter is an open-source, flexible, high-performance Kubernetes cluster autoscaler built with AWS. It offers a range of new, powerful options for effective cluster size optimization. Karpenter frees users from pre-defined node group constraints, enabling more fine-grained control over resource utilization to unlock significant potential cost savings.

This is accomplished via NodePools, which allow users to specify a wide variety of constraints, such as instance groups, families and/or sizes, availability zones, architectures and capacity types, allowing Karpenter to make optimal decisions on what instance to start or terminate next. Furthermore, users may create multiple NodePools to target specific types of nodes for specific pods or to prioritize utilizing a certain type of instance. It offers multiple advantages of Cluster Autoscaler.

For example, if you have pending pods that only require 2 CPU and 2 GB of memory to be scheduled, Karpenter will look for the instance type that best matches those needs, instead of simply launching a larger instance which will be able to schedule the pending workload. 

With NodePools in Karpenter, you can:

  • Define taints
  • Label nodes
  • Annotate nodes
  • Customize Kubelet Args

Therefore, when using Karpenter, you can consider Provisioners as the equivalent of node groups, at least at a very high level, providing you with similar capabilities while offering additional flexibility for scaling your workloads.

Defining your NodePools

Unlike node groups which are a resource of your cloud provider, NodePools are managed using a Kubernetes CRD, similarly to other Kubernetes resources like Deployments or DaemonSets. During the installation of Karpenter, a CRD specifically for NodePools is created in the cluster. Additionally, the Karpenter Controller, which is also installed via the helm chart, waits for events associated with NodePool resources and takes appropriate actions based on those events. Here’s an example of what a NodePool CRD looks like. 

For the purpose of this article, only the minimum number of fields required to run have been included — for more advanced configuration, consult the Karpenter documentation


apiVersion: karpenter.sh/v1alpha5
kind: Provisioner
metadata:
  name: default
spec:

  taints:
    - key: example.com/special-taint
      effect: NoSchedule

  labels:
    billing-team: my-team

  annotations:
    example.com/owner: "my-team"

  requirements:
    - key: "karpenter.k8s.aws/instance-category"
      operator: In
      values: ["c", "m", "r"]
    - key: "karpenter.k8s.aws/instance-cpu"
      operator: In
      values: ["4", "8", "16", "32"]
    - key: "karpenter.k8s.aws/instance-hypervisor"
      operator: In
      values: ["nitro"]
    - key: karpenter.k8s.aws/instance-generation
      operator: Gt
      values: ["2"]
    - key: "topology.kubernetes.io/zone"
      operator: In
      values: ["us-west-2a", "us-west-2b"]
    - key: "kubernetes.io/arch"
      operator: In
      values: ["arm64", "amd64"]
    - key: "karpenter.sh/capacity-type" # If not included, the webhook for the AWS cloud provider will default to on-demand
      operator: In
      values: ["spot", "on-demand"]

  ttlSecondsUntilExpired: 2592000 # 30 Days = 60 * 60 * 24 * 30 Seconds;

  # If omitted, the feature is disabled, nodes will never scale down due to low utilization
  ttlSecondsAfterEmpty: 30

  weight: 10


If you have been using node groups, most of the above configurations probably look familiar. The requirements field is where you specify the types of instances. 

To list all provisioners using kubectl, use `kubectl get provisioners`. As with other Kubernetes resources, you can describe them or output them to YAML to view more details.

How Many NodePools Should You Create?

If you are currently running a single node group in your EKS cluster migration, you only need to create a single provisioner in Karpenter — with a similar configuration as your node group but with a much larger instance type pool. The larger the pool the better, since Karpenter can intelligently select appropriate nodes to use for scaling.

If you are currently using multiple managed node groups to scale your cluster, you can start by keeping the Karpenter implementation as close as possible to your existing one. Start by creating a NodePool per each node group.

You also need to consider if your applications have any particular needs, such as high IO workloads that require NVMe storage instead of EBS. In cases such as these, you will want to have multiple provisioners with the proper instance types to avoid impacting workload performance. 

Deploying Karpenter

To start using Karpenter you will need to have nodes to run the Karpenter controller on, you can either:  

  • Create a managed node group and taint it so that only Karpenter runs on it
  • Use Fargate to run Karpenter and coredns so that you don’t have to create any node groups

We are going to cover the second approach using Terraform and use the Terraform EKS Karpenter blueprint from the AWS blueprints repository. The following code assumes you have created the cluster using the official EKS module. 

Deploying Karpenter To Run On Fargate

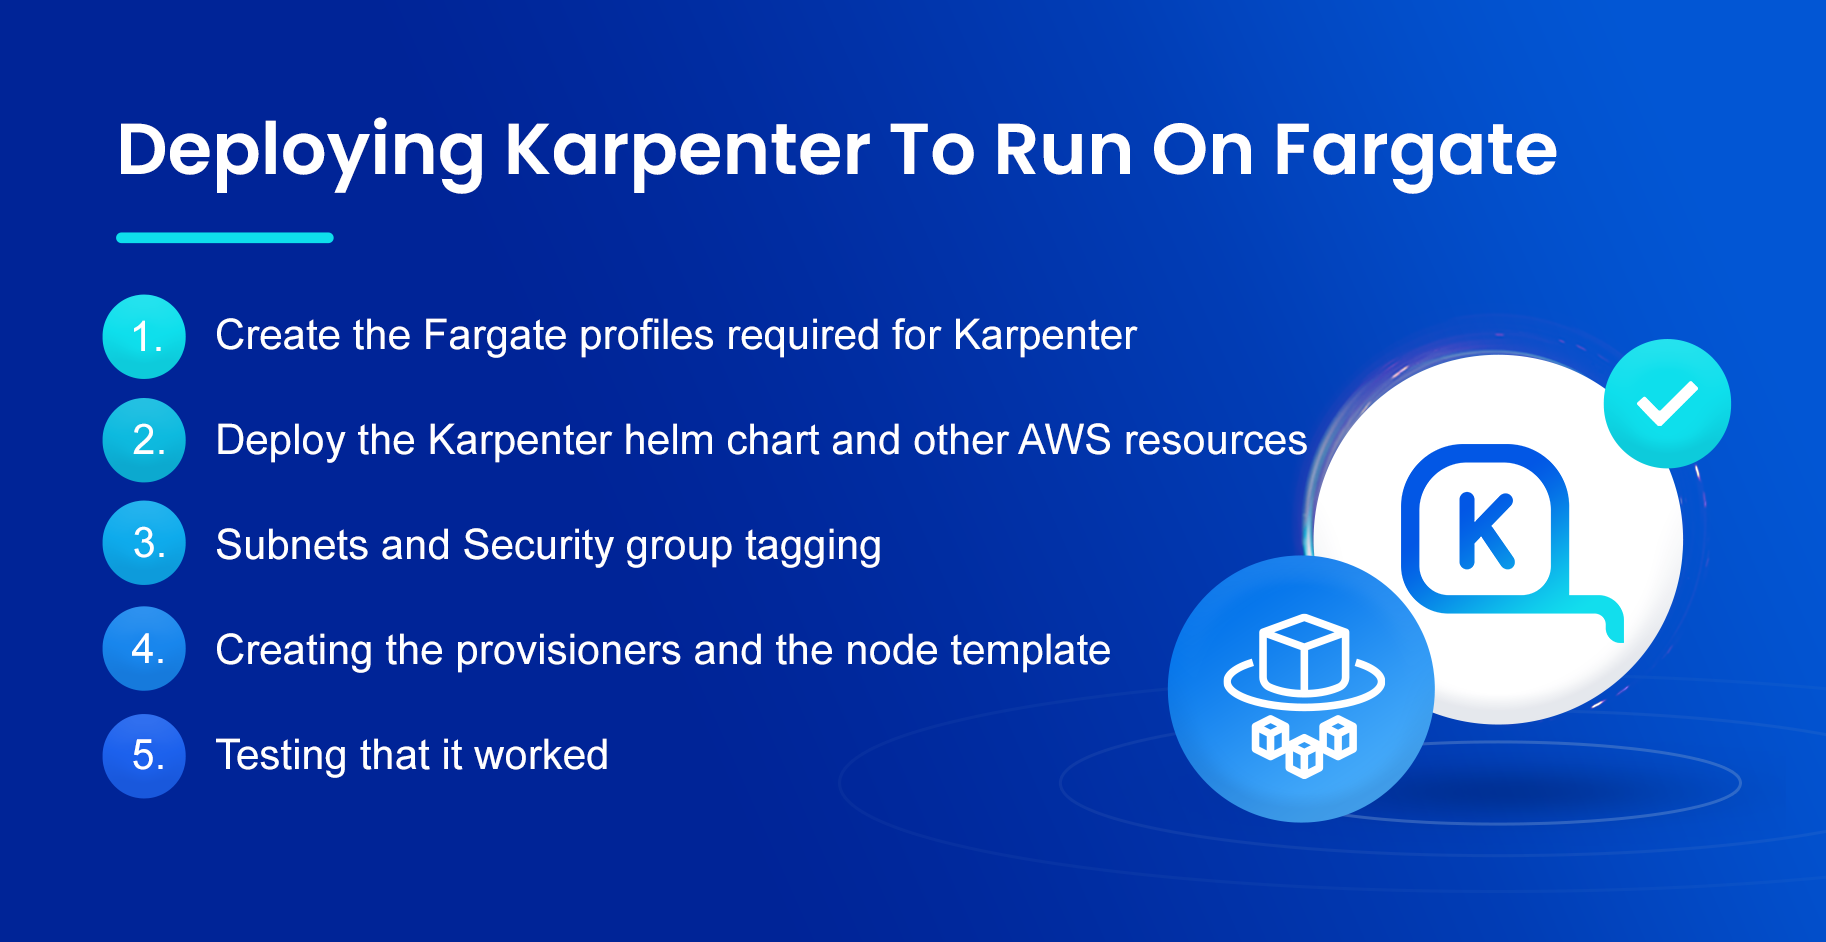
1. Create the Fargate profiles required for Karpenter

We will need a Fargate profile setup for the Karpenter namespace. Add the Fargate profile to your EKS module declaration in Terraform as below:

				
					module "eks" {
  source  = "terraform-aws-modules/eks/aws"
  version = "~> 19.13"

  cluster_name                   = local.name
  cluster_version                = "1.27"
  cluster_endpoint_public_access = true

  vpc_id     = module.vpc.vpc_id
  subnet_ids = module.vpc.private_subnets

  # Fargate profiles use the cluster primary security group so these are not utilized
  create_cluster_security_group = false
  create_node_security_group    = false

  manage_aws_auth_configmap = true
  aws_auth_roles = [
    # We need to add in the Karpenter node IAM role for nodes launched by Karpenter
    {
      rolearn  = module.eks_blueprints_addons.karpenter.node_iam_role_arn
      username = "system:node:{{EC2PrivateDNSName}}"
      groups = [
        "system:bootstrappers",
        "system:nodes",
      ]
    },
  ]

  fargate_profiles = {
    karpenter = {
      selectors = [
        { namespace = "karpenter" }
      ]
    }
    kube_system = {
      name = "kube-system"
      selectors = [
        { namespace = "kube-system" }
      ]
    }
  }

  tags = merge(local.tags, {
    # NOTE - if creating multiple security groups with this module, only tag the
    # security group that Karpenter should utilize with the following tag
    # (i.e. - at most, only one security group should have this tag in your account)
    "karpenter.sh/discovery" = local.name
  })
}


2. Deploy the Karpenter helm chart and other AWS resources

First we need to deploy the Karpenter helm chart. This will install the Karpenter CRD’s, such as the NodePools, as well as the Karpenter controller to execute the scaling actions.

				
					module "eks_blueprints_kubernetes_addons" {
  source = "git@github.com:aws-ia/terraform-aws-eks-blueprints//modules/kubernetes-addons?ref=v4.31.0"

  eks_cluster_id       = module.eks.cluster_name
  eks_cluster_endpoint = module.eks.cluster_endpoint
  eks_oidc_provider    = module.eks.oidc_provider
  eks_cluster_version  = module.eks.cluster_version

  # Wait on the `kube-system` profile before provisioning addons
  data_plane_wait_arn = join(",", [for prof in module.eks.fargate_profiles : prof.fargate_profile_arn])

  enable_karpenter = true
  karpenter_helm_config = {
    repository_username = data.aws_ecrpublic_authorization_token.token.user_name
    repository_password = data.aws_ecrpublic_authorization_token.token.password
  }
  karpenter_node_iam_instance_profile        = module.karpenter.instance_profile_name
  karpenter_enable_spot_termination_handling = true

  
}


The other module that we will be using is the Karpenter module from the Terraform-aws-modules repo. 

In order to run Karpenter, you need a set of infrastructure to be created in AWS. This module will take care of creating the IAM roles and the node instance profile that Karpenter nodes will use. It will also create the interruption SQS queue that Karpenter will use to capture node interruption events from AWS. 

For more information on the interruption queue and how it works, you can consult Karpenter’s Interruption documentation.

				
					Unset
module "karpenter" {
  source  = "terraform-aws-modules/eks/aws//modules/karpenter"
  version = "~> 19.12"

  cluster_name           = module.eks.cluster_name
  irsa_oidc_provider_arn = module.eks.oidc_provider_arn
  create_irsa            = false # IRSA will be created by the kubernetes-addons module


}


3. Subnets and Security group tagging

Lastly, you will need to tag the security groups and subnets that you want Karpenter to use for the nodes. Karpenter will autodiscover them, and if you are using the AWS VPC module, you can do it in Terraform. These is the tag that you will need on both subnets and security groups:

				
					Unset
karpenter.sh/discovery: <replace with your cluster name>


4. Creating the NodePools and the node template

Now that we have all the rest in place, the last step is to create the node template and the NodePools.

				
					Unset
apiVersion: karpenter.sh/v1alpha5
kind: Provisioner
metadata:
  name: default
spec:
  labels:
    karpenter-migration: true 
  taints:
    - key: nops.io/testing
      effect: NoSchedule
  requirements:
    - key: karpenter.sh/capacity-type
      operator: In
      values: ["spot"]
  limits:
    resources:
      cpu: 1000
  providerRef:
    name: default
  consolidation: 
    enabled: true
---
apiVersion: karpenter.k8s.aws/v1alpha1
kind: AWSNodeTemplate
metadata:
  name: default
spec:
  subnetSelector:
    karpenter.sh/discovery: ${CLUSTER_NAME}
  securityGroupSelector:
    karpenter.sh/discovery: ${CLUSTER_NAME}


5. Testing that it worked

Create a test deployment by applying the following YAML:

				
					Unset
apiVersion: apps/v1
kind: Deployment
metadata:
  name: inflate
spec:
  replicas: 0
  selector:
    matchLabels:
      app: inflate
  template:
    metadata:
      labels:
        app: inflate
    spec:

nodeSelector:
    		karpenter-migration: true 

 tolerations:
 - key: "nops.io/testing"
   operator: "Exists"
   effect: "NoSchedule"
      terminationGracePeriodSeconds: 0
      containers:
        - name: inflate
          image: public.ecr.aws/eks-distro/kubernetes/pause:3.7
          resources:
            requests:
              cpu: 1


The deployment will have 0 replicas initially. To trigger the scaling of the Karpenter nodes, we need to scale it up:

				
					Unset
kubectl scale deployment inflate --replicas 5
kubectl logs -f -n karpenter -l app.kubernetes.io/name=karpenter -c controller


Once the pods get out of the “pending” state you should see some new nodes created by Karpenter in the cluster.

Next Steps

As you may have noticed, we used taints and a node selector on the deployment. The goal is to not impact your existing workload — by using the taints and the selector, we ensure that your existing workload keeps using your node groups for now.

The next step is to start incrementally moving your workload to Karpenter, you can do this either by completely removing the taints from the provisioner, or by adding the node selector that matches the NodePool as well as the taint to your deployments.

In theory, eliminating the taints from the NodePool should be good enough. For production, you may want to take a less risky approach such as moving your deployments incrementally.

Final Thoughts

While Karpenter offers several benefits, it also has some limitations — such as  failure to reconsider Spot prices as the market changes, short notice for Spot terminations, and no knowledge of your existing commitments. 

That’s why we created nOps Compute Copilot as the easiest and most cost-effective way to scale your Kubernetes clusters. Here’s what it adds to Karpenter:

  • Holistic AWS ecosystem awareness of all of your existing commitments, your dynamic usage, and market pricing with automated continuous rebalancing to ensure you’re always on the optimal blend of RI, SP and Spot

  • Simplified configuration and management of Karpenter via a user-friendly interface 

  • ML Spot termination prediction: Copilot predicts node termination 60 minutes in advance, automatically moving you onto stable and diverse options. You get Spot discounts, with On-Demand reliability.

Our mission is to make it easy for engineers to take action on cost optimization. Join our satisfied customers who recently named us #1 in G2’s cloud cost management category by booking a demo today.